
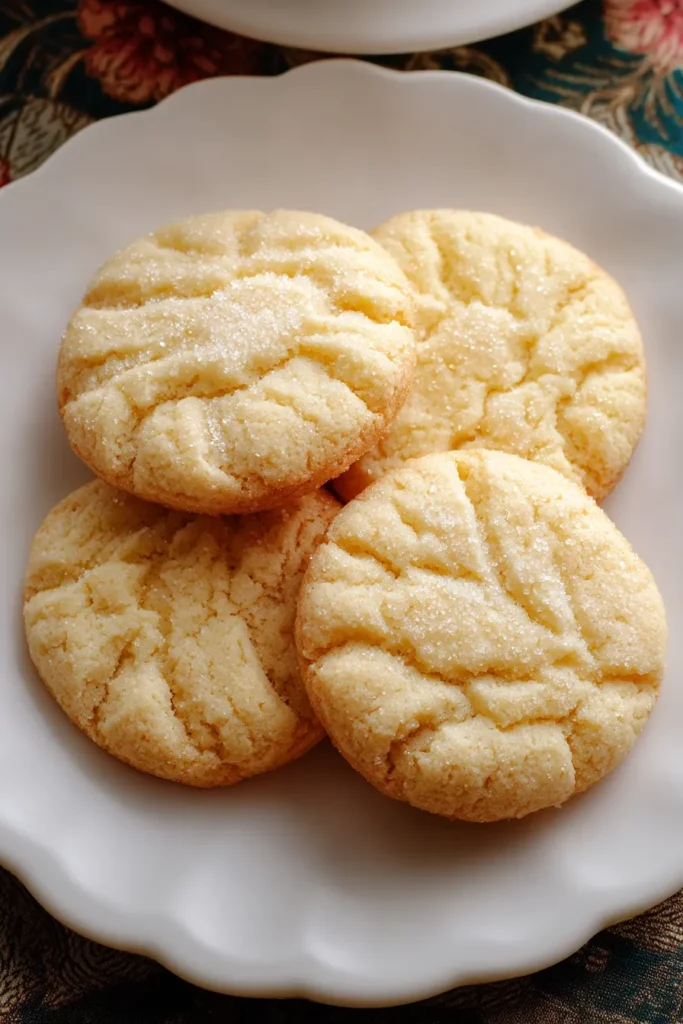
There’s something magical about a cookie that feels like a warm hug for your taste buds. These Classic Vanilla Butter Cookies That Melt in Your Mouth are a timeless treat, boasting a rich flavor and a perfectly tender crumb. After just 15 minutes of prep time, 12 minutes of cooking, and a brief 5 minutes of resting, you’ll be rewarded with 24 golden bites of pure joy. Beginner bakers will love how approachable this recipe is—no complicated techniques or exotic ingredients required—yet the results feel so special. Each cookie clocks in at about 120 calories, making them an ideal dessert course for afternoon tea or a late-night snack that’s just the right size.
Every batch of these buttery vanilla cookies has a way of sparking happy memories, whether you’re sharing them over coffee with friends or sneaking one (or two) when no one’s looking. The combination of softened unsalted butter and pure vanilla extract creates a symphony of flavor that feels both nostalgic and fresh. Simple pantry staples—flour, sugar, egg, and a pinch of salt—come together effortlessly, proving that sometimes the easiest recipes are the most satisfying. As you whip up this dough and pop those cookies into the oven, you’ll feel like you’re stepping into your grandmother’s cozy kitchen, apron and all, ready to fill the house with a sweet, inviting warmth.
Before you get your hands doughy, let’s take a quick tour of the heroes behind these melt-in-your-mouth treats. Each ingredient plays its own part in creating that buttery richness, tender crumb, and classic flavor.
This creamy foundation brings rich flavor and tender moisture to every bite. By using unsalted butter, you control the salt level precisely, ensuring a perfect balance that highlights the vanilla.
Beyond sweetness, sugar helps incorporate air into the butter during creaming, lending a light, delicate texture that practically melts on your tongue.
Acting as a binder, the egg provides structure and moisture. It also helps the cookies brown gently around the edges, giving that subtle golden color.
A high-quality vanilla extract elevates these cookies from simple to sublime, infusing a sweet, floral aroma and deep flavor in every crumb.
The backbone of our dough, flour builds structure and chew. Choosing all-purpose flour offers just the right balance of protein to create tender yet sturdy cookies.
A pinch of salt enhances the sweetness and rounds out flavors, keeping every cookie from tasting flat or overly sugary.
Now that we’ve gathered our six key players, let’s walk through transforming these simple ingredients into a batch of blissful bites. Below, you’ll find step-by-step directions, each with extra tips to ensure your cookies turn out picture-perfect and oh-so-tasty.
1. Preheat your oven to 350°F (175°C) and line a baking sheet with parchment paper. This ensures even baking and easy cleanup, giving you perfectly golden edges without sticking.
2. In a large mixing bowl, cream together the softened butter and granulated sugar until the mixture is light and fluffy. This step aerates the dough, creating a tender texture.
3. Add the egg and pure vanilla extract to the butter mixture and beat well until fully incorporated. Scrape down the sides of the bowl so every bit of butter and sugar gets its share of vanilla goodness.
4. In a separate bowl, whisk together the all-purpose flour and salt. This dry mix distributes the salt evenly and prevents lumps.
5. Gradually add the flour mixture to the butter mixture, mixing at low speed until the dough is smooth and well combined. Overmixing can toughen cookies, so stop as soon as you see no streaks of flour.
6. Roll the dough into 1-inch balls and place them on the prepared baking sheet, leaving about 2 inches of space between each cookie to allow for gentle spreading.
7. For a traditional look, gently flatten each ball with the bottom of a glass or use a fork to create a charming crisscross pattern, adding a homemade touch.
8. Bake in the preheated oven for 10–12 minutes, or until the edges are lightly golden. Keep a close eye—these cookies go from perfect to overdone in a heartbeat.
9. Allow the cookies to cool on the baking sheet for a few minutes before transferring them to a wire rack to cool completely. This cooling phase finishes the setting process and ensures a tender center.
When it comes to sharing these delightful cookies, the serving possibilities feel endless. Whether you’re hosting a casual afternoon tea, preparing party platters, or simply wanting to make snack time extra special, these serving ideas will elevate your buttery vanilla cookies to memorable moments of joy. Experiment with colors, pairings, and presentations to suit the season or celebration—you’ll find that a simple twist can transform these classic treats into showstoppers that leave guests asking for the recipe.
These cookies are undeniably tempting fresh from the oven, but knowing how to store them properly lets you savor their buttery goodness days—or even weeks—later. Good storage not only maintains their flavor and crisp edges but also preserves that tender, melt-in-your-mouth texture you love. Follow these methods to extend shelf life without sacrificing quality, and your cookies will always taste like they’ve just been baked.
Recapping everything we’ve learned, these Traditional Buttery Vanilla Butter Cookies are more than just a simple dessert—they’re a delightful celebration of flavor and community. Starting with basic pantry staples, this beginner-friendly recipe combines unsalted butter, sugar, egg, vanilla, flour, and salt into a smooth dough that bakes up as golden, melt-in-your-mouth cookies. With just 15 minutes of prep, 12 minutes of baking, and a 5-minute rest, you’ll have 24 perfectly tender treats ready to pair with tea or coffee. We’ve walked through each step in detail, shared tips for creaming, mixing, and flattening, and even explored serving ideas from chocolate dips to jam sandwiches. Plus, we’ve covered storage methods to keep your cookies tasting fresh for days or even weeks, whether you keep them at room temperature, in the refrigerator, or in the freezer.
Feel free to print this article and save it for later so you can revisit the recipe whenever a sweet craving strikes or you’re planning a cozy gathering. Below, you’ll find a helpful FAQ section addressing common questions and troubleshooting tips—so even if you’re new to baking, you’ll feel confident every step of the way. I’d love to hear how your cookies turn out: drop a comment with your favorite serving twist, share any questions you have, or let me know if you need more guidance. Happy baking, and may your kitchen always smell like freshly baked happiness!
These buttery vanilla cookies are a timeless treat, boasting a rich flavor and a perfectly tender crumb. Ideal for tea time or any sweet craving!

Ciao, beautiful souls! I'm Isabella Romano, and welcome to my kitchen where comfort meets creativity, and every recipe is designed to make your everyday cooking feel a little more special.