
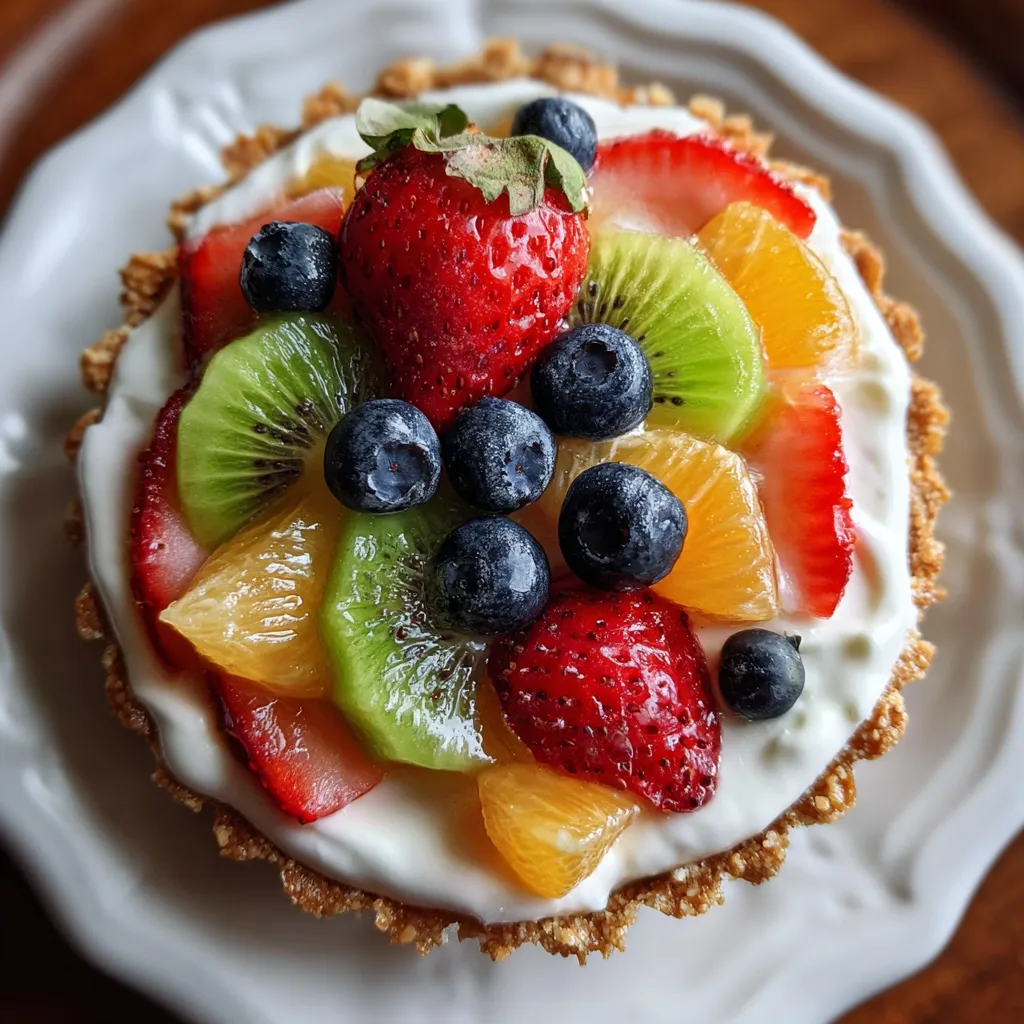
Craving a fresh and fun dessert? Sweet Creamy No-Bake Fruit Pizza takes your tastebuds on a summer fling with a velvety cream cheese filling nestled in a crisp graham crust and topped with a rainbow of juicy strawberries, blueberries, kiwi, and peaches. It’s as simple as mixing, chilling, and decorating—no oven required! Perfect for picnics, potlucks, or a sunny afternoon treat, this dessert is sure to impress everyone at the table. Ready to dive in?
Here’s a quick look at the simple, delicious ingredients that make this Sweet Creamy No-Bake Fruit Pizza shine:
Creating this fruit pizza is all about simple steps—mixing a buttery crust, whipping a fluffy filling, and arranging colorful fruits. Whether you’re a kitchen newbie or a dessert pro, you’ll find these instructions straightforward and fun. Ready to build your masterpiece? Let’s go!
1. In a medium bowl, combine the graham cracker crumbs, granulated sugar, and melted butter. Stir until the mixture resembles wet sand, ensuring every crumb is coated for a sturdy crust.
2. Press the crumb mixture firmly into the bottom and up the sides of a 12-inch pizza pan or springform pan. Use the back of a spoon or a flat measuring cup for an even layer.
3. Chill the crust in the refrigerator for 15 minutes to set and hold its shape during assembly.
4. In a separate bowl, beat the softened cream cheese, powdered sugar, and vanilla extract on medium speed until completely smooth and creamy.
5. In another bowl, whip the cold heavy cream to stiff peaks, then gently fold it into the cream cheese mixture with a spatula to create a light, fluffy filling.
6. Spread the creamy filling evenly over the chilled crust, smoothing the top with a spatula for edge-to-edge coverage.
7. Arrange the sliced strawberries, blueberries, kiwi, and peaches in a decorative pattern, alternating fruits for a vibrant display.
8. Refrigerate the assembled fruit pizza for at least 1 hour to allow flavors to meld before slicing and serving.
Once your Sweet Creamy No-Bake Fruit Pizza is chilled and ready, presentation is key! Here are a few ideas to serve up slices that look as good as they taste:
These insider tips will help your fruit pizza turn out flawless every time—no stress, all success!
Keeping your fruit pizza fresh and delicious is easy with the right storage methods. Whether you have a few slices or the whole pizza leftover, follow these tips to maintain that crisp crust and fluffy filling:
Got questions? Here are some quick answers:
A: It takes about 30 minutes of active prep time—mixing and pressing the crust, chilling the crust for 15 minutes, whipping the filling, and arranging the fruit—plus at least 1 hour of final refrigeration after assembly before slicing and serving.
A: Yes. You can substitute crushed shortbread cookies, Nilla wafers, or a pre-made graham cracker crust. If using a store-bought crust, skip the crumb-mix step and simply prepare the filling and fruit as directed. If you swap in a different cookie, taste the crumbs first and adjust the sugar and butter amounts to achieve a firm, sweet base.
A: Make sure the cream cheese is fully softened at room temperature before beating. Use an electric mixer on medium speed to blend cream cheese, powdered sugar, and vanilla until completely smooth. Whip the heavy cream separately to stiff peaks, then gently fold it into the cream cheese mixture with a spatula to maintain a light, fluffy texture without overmixing.
A: Pat all sliced fruit dry with paper towels to remove excess moisture before arranging. You can also brush a thin layer of warmed apricot or strawberry jam over the chilled crust before filling as a moisture barrier. This seals the crust and prevents fruit juices from seeping in.
A: Cover the assembled pizza tightly with plastic wrap or transfer individual slices to an airtight container. Store in the refrigerator for up to two days. After that, the whipped filling may start to weep and the crust could soften. For best texture, consume within 48 hours.
A: Freezing is not recommended because whipped cream and fresh fruit release water when thawed, resulting in a watery filling and mushy fruit. If needed, you can freeze the unfilled crust in a sealed bag for up to one month and assemble the filling and fruit just before serving.
A: A 9- or 10-inch springform pan, a tart pan with a removable bottom, or even an 8- or 9-inch square baking dish will work. Note that a smaller pan will yield a thicker crust, so you may need to increase the crumb mixture proportionally or expect a denser base.
A: Substitute or add fruits like mango, blackberries, raspberries, cherries, or sliced peaches, keeping the total fruit volume around 2½ to 3 cups. Slice fruits evenly for uniform coverage, and arrange them in concentric circles, stripes, or clusters for an appealing presentation.
This Sweet Creamy No-Bake Fruit Pizza is the ultimate crowd-pleaser—no baking required, a crisp graham crust, pillowy cream cheese filling, and a colorful fruit crown that’s almost too pretty to eat. The mix of textures and flavors works like a dream, and it’s versatile enough to swap in your favorite seasonal fruits. Feel free to print and save this recipe for your next gathering, and don’t forget to share your thoughts, questions, or fun fruit patterns in the comments if you give it a try!
A velvety cream cheese and whipped topping nestles in a crisp graham crust, crowned with juicy strawberries, blueberries, kiwi, and peaches for a refreshing, no-bake dessert pizza.

Ciao, beautiful souls! I'm Isabella Romano, and welcome to my kitchen where comfort meets creativity, and every recipe is designed to make your everyday cooking feel a little more special.