
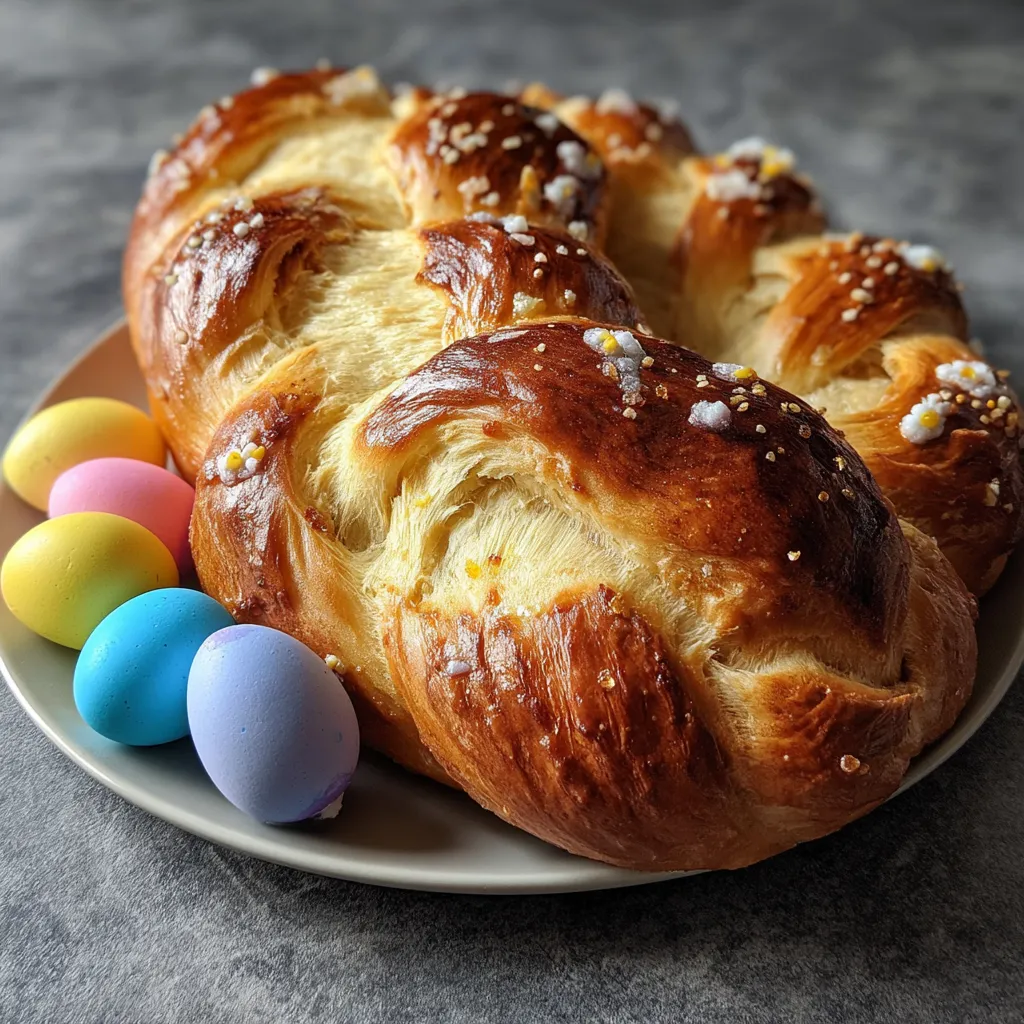
Sweet Braided Easter Bread is the perfect homemade treat to bring people together around the table. Weave soft strands of golden dough around colored eggs for a festive centerpiece that's as fun to braid as it is to devour. Soft, pillowy braids of buttery-sweet dough cradle those vibrant dyed eggs, brightened by hints of vanilla and lemon zest in every slice. Ready for an Intermediate-level breakfast project that smells heavenly and looks spectacular? Let’s roll up our sleeves and braid some magic this Easter morning!
Here’s what you’ll need to create this tender, sweet Easter braid and why each component matters:
Baking this Easter bread is a joyful journey that starts with proofing yeast in warm milk and ends with a shiny, golden braid wrapped around colorful eggs. You’ll whisk dry and wet ingredients separately, then combine them into a shaggy dough before kneading in rich butter. Two rises give you a light, airy crumb, and a careful braid holds your dyed eggs snugly in place. With a final egg wash and a short bake at 180°C, you’ll pull out a loaf that’s as stunning as it is delicious. Follow these steps to achieve perfect results:
1. Combine warm milk (around 120 ml at about 38°C) with 7 grams of active dry yeast in a bowl. Stir gently and let it sit until the mixture is frothy, about 5 minutes.
2. In a large bowl, whisk together 500 grams of all-purpose flour, 100 grams of granulated sugar, and 1 teaspoon of salt until evenly distributed.
3. In a separate small bowl, beat 1 of the large eggs with 1 teaspoon of vanilla extract and the zest of 1 lemon. Pour this fragrant egg mixture into the frothy yeast.
4. Transfer the wet ingredients into the bowl with the dry mixture and stir with a wooden spoon or spatula until a shaggy dough forms.
5. Add 60 grams of softened unsalted butter to the dough. Knead on a lightly floured surface for about 10 minutes, until the dough becomes smooth and elastic.
6. Place the dough in a greased bowl and cover it with a clean towel. Let it rise in a warm place until doubled in size, about 1 hour.
7. Punch down the dough to release excess air, then divide it into three equal strands. Tuck a colored egg into each strand and carefully braid the pieces together, securing the eggs in the center.
8. Transfer the braided loaf to a parchment-lined baking sheet, cover loosely, and let it rise again until puffed, about 30 minutes.
9. Beat the remaining egg and brush it evenly over the loaf. Bake in a preheated 180°C oven for 25 to 30 minutes, until the crust is deep golden brown.
10. Remove the bread and let it cool on a wire rack before slicing and serving warm or at room temperature.
Serving Sweet Braided Easter Bread is almost as fun as making it! The warm, golden slices taste divine on their own, but you can take your breakfast spread to the next level by pairing this festive loaf with a few complementary delights. Whether you’re brunching with family or gifting slices to friends, these suggestions will help you showcase its buttery sweetness and vibrant eggs.
Even with a great recipe in hand, a few insider tips will help ensure your Sweet Braided Easter Bread comes out picture-perfect every time. From ensuring active yeast to achieving that shiny crust, these pointers will have your loaf rising beautifully, looking stunning, and tasting divine. Keep these simple tricks in mind as you knead, proof, and bake—your family will think you’re a seasoned pastry pro!
Proper storage makes a world of difference if you want to savor your Sweet Braided Easter Bread beyond the first delicious morning. With just a few simple steps, you can keep these buttery braids soft, fresh, and vibrant for days—or even weeks—so nothing goes to waste. Here are my favorite methods to preserve that signature flavor and texture:
Got questions? I’ve got you covered with these tried-and-true answers:
To activate the yeast, heat the milk to about 38°C (warm to the touch but not hot) so it won’t kill the yeast. Stir in the yeast and let it sit for about 5 minutes until it becomes frothy. If it doesn’t foam, the yeast may be expired or the milk too hot or cold—start over with fresh yeast and correctly warmed milk.
First, make sure your kitchen is warm (around 24–27°C). If it’s cooler, place the covered dough in an oven with just the light on or near a warm spot. Also confirm your yeast was fresh and that you kneaded the dough until it was smooth and elastic. Under-kneaded dough or inactive yeast are the most common culprits.
Yes. If you swap in instant yeast, you can skip the 5-minute proofing step. Simply whisk the instant yeast directly into the dry ingredients, then add the warm milk and continue with the recipe instructions. The rising times remain the same.
After dividing the dough into three strands, make sure each strand is of equal length and thickness. Lay them side by side, pinch the top ends together, then cross the outer strands over the center in an alternating pattern. Tuck each colored egg snugly into the center of each strand before the final braid to secure them in place.
The first layer of egg wash, applied before baking, gives the bread a glossy, golden surface. Brushing a second layer halfway through baking boosts the shine and deepens the color for an even more appealing crust.
Once fully cooled, place the loaf in an airtight container at room temperature for up to three days. To freeze, slice the bread, wrap individual slices in plastic wrap, and store them in a sealed freezer bag for up to one month. Thaw at room temperature or warm gently in a toaster oven.
Yes. You can stir in a teaspoon of cinnamon or an extra half teaspoon of vanilla extract for more aroma, but keep additions light so the dough texture stays soft. Always add extra dry spices to the flour mixture and any extra extract to the wet ingredients so they distribute evenly.
This Sweet Braided Easter Bread shines because it combines time-honored technique with bright, springtime flavors—vanilla, lemon zest, and those festive colored eggs tucked right into the braid. The double rise ensures a beautifully airy crumb, while the shiny egg wash gives it that irresistible golden glow. It’s a fun Intermediate-level project that delivers show-stopping results, perfect for any breakfast or brunch spread. Feel free to print this article and save it for your next Easter celebration. I’d love to hear how your braids turn out—drop a comment below if you give it a try or need any baking tips!
Soft, pillowy braids of buttery-sweet dough cradle colorful dyed eggs, releasing a fragrant hint of vanilla and lemon zest with every warm, golden slice perfect for sharing around the Easter table.

Ciao, beautiful souls! I'm Isabella Romano, and welcome to my kitchen where comfort meets creativity, and every recipe is designed to make your everyday cooking feel a little more special.