
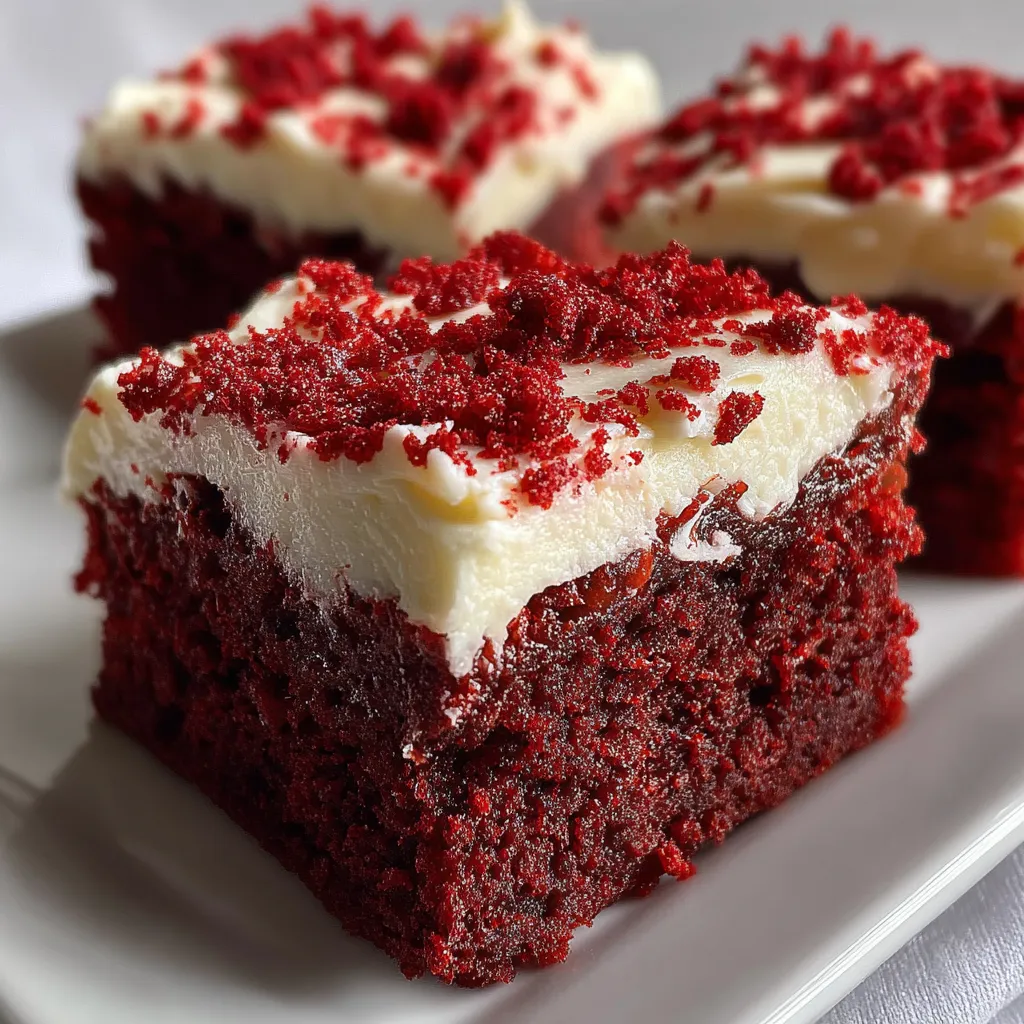
Sink your teeth into Red Velvet Brownies with Cream Cheese Frosting, where vibrant crimson swirls of chocolate fudge meet cloud-like tangy frosting. This crowd-pleaser marries the best of red velvet cake and rich brownie texture, making every bite a delightful balance of sweet and tang. Whether you’re celebrating a special occasion or simply craving a luxurious treat, this recipe promises to impress. Grab your apron and get ready to bake pure joy!
Here’s what you’ll need to whip up these sensational Red Velvet Brownies with Cream Cheese Frosting. Each ingredient plays a key role in flavor, texture, and that signature red hue—so gather them and let’s bake!
Baking these brownies is a step-by-step celebration of color and flavor. You’ll start by melting chocolate and butter for a glossy, fudgy base, then whisk in sugar, eggs, and vanilla to build structure. A gentle folding of red food coloring, cocoa, and flour ensures that signature velvety crumb. After a quick bake and full cool-down, you’ll whip up a tangy cream cheese frosting and spread it over the top for the perfect finish. Follow these detailed steps to achieve brownies that are moist, richly colored, and crowned with a dreamy frosting.
1. Preheat the oven to 350°F and line an 8-inch square baking pan with parchment paper, leaving an overhang for easy removal.
2. Melt the unsalted butter and semisweet chocolate chips in a heatproof bowl set over simmering water, stirring until smooth, then remove from the heat.
3. Whisk in the granulated sugar until fully combined and glossy.
4. Add the eggs one at a time, mixing well after each addition, then stir in the vanilla extract until the batter is smooth.
5. Sift in the unsweetened cocoa powder, red food coloring, and salt, then fold gently with a spatula until just combined.
6. Fold in the all-purpose flour until no streaks remain, being careful not to overmix.
7. Pour the batter into the prepared pan and bake for 20 to 25 minutes, or until a toothpick inserted in the center comes out with moist crumbs.
8. Allow the brownies to cool completely in the pan on a wire rack before frosting to ensure a clean, even layer.
9. Meanwhile, beat the cream cheese and unsalted butter together until smooth, then add the powdered sugar and vanilla extract and beat until creamy.
10. Spread the cream cheese frosting evenly over the cooled brownies, slice into squares, and serve.
These brownies are delightful on their own, but a few simple touches can elevate them into a memorable dessert spread. Experiment with temperature contrasts, fresh toppings, and complementary sides to make each serving feel extra special.
A few insider tips will help you achieve flawless results every time you bake these brownies. From selecting ingredients to timing your steps, these pointers will make the process smoother and more enjoyable.
Proper storage keeps your brownies tasting just-baked for days. Whether you’re stashing leftovers or preparing for a gathering, follow these methods to maintain that moist, fudgy texture and creamy frosting.
Got questions about baking, coloring, or storing your red velvet brownies? I’ve got answers to the most common queries below.
You’ll need about 15 minutes to melt the chocolate and butter, whisk in the sugar, beat in the eggs, and fold in the dry ingredients, plus 20 to 25 minutes of baking time. Cooling the brownies completely before frosting takes another 30 to 45 minutes, and frosting them adds about 10 minutes. In total, plan for roughly 1 hour and 30 minutes to 2 hours.
Use a high-quality unsweetened cocoa powder to avoid adding bitterness and stick to the recipe’s two tablespoons of red food coloring. For an even more vibrant hue, opt for gel or paste coloring rather than liquid, adding an extra half teaspoon at a time until you reach your desired shade.
Start checking at 20 minutes by inserting a toothpick into the center. When it comes out with moist crumbs clinging to it—but no raw batter—the brownies are done. They will continue to set as they cool, so avoid baking until the toothpick is completely clean, which can lead to dry brownies.
For a gluten-free version, substitute the all-purpose flour with an equal amount of a gluten-free 1:1 baking flour that contains xanthan gum. To cut fat, you can replace up to 1/4 cup of the butter in the batter with plain Greek yogurt or unsweetened applesauce, though the texture will be slightly less fudgy.
After frosting, keep the brownies in an airtight container or cover the pan tightly with plastic wrap and refrigerate for up to five days. Before serving, bring them to room temperature for about 30 minutes to soften the frosting and restore the ideal fudgy texture.
Yes. Beat the cream cheese and butter with the powdered sugar and vanilla, then store the frosting in an airtight container in the refrigerator for up to 24 hours. Before spreading, let it sit at room temperature for 20 minutes and rebeat lightly to return it to a smooth, spreadable consistency.
If the brownies are even slightly warm, the cream cheese frosting will melt and become runny, leading to a thin, uneven layer. Allowing them to cool fully ensures the frosting holds its shape and gives you clean, neat slices when you cut the brownies.
Red Velvet Brownies with Cream Cheese Frosting bring the drama of red velvet cake into an irresistibly fudgy format—no piping skills required! The deep cocoa notes, vibrant red hue, and tangy frosting create a playful flavor duet that’s guaranteed to wow. Plus, this recipe is straightforward enough for an intermediate home baker yet impressive enough for any celebration. Feel free to print and save it for your next baking adventure. If you whip up a batch, drop a comment below with your feedback, questions, or brownie success stories—I’d love to hear how yours turned out!
Rich, fudgy brownies dyed a jewel-like red, crowned with velvety cream cheese frosting that melts on your tongue. Each bite brings a harmonious dance of smooth cocoa and tangy sweetness, perfect for sharing.

Ciao, beautiful souls! I'm Isabella Romano, and welcome to my kitchen where comfort meets creativity, and every recipe is designed to make your everyday cooking feel a little more special.