
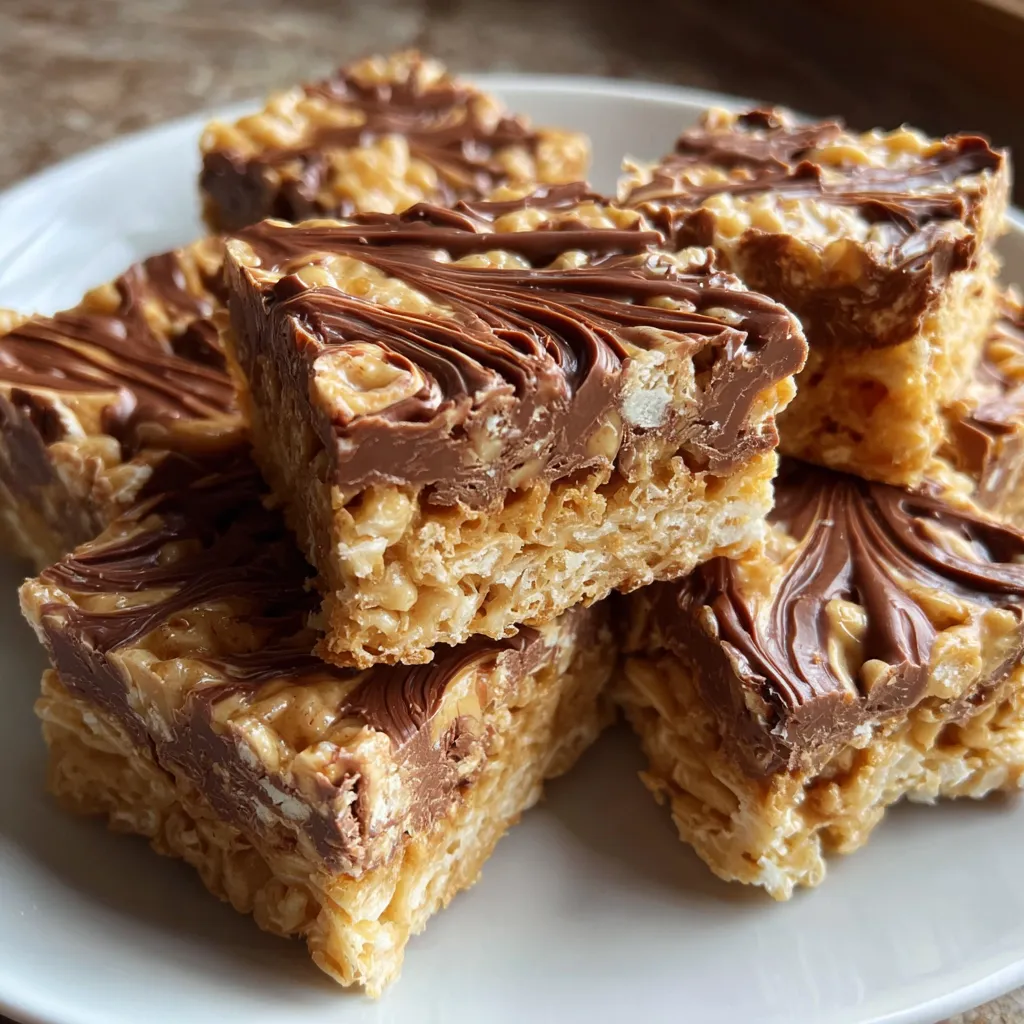
Crunchy cereal meets creamy peanut butter in these Peanut Butter Rice Krispie Treats with Chocolate Swirl that weave glossy chocolate ribbons through every bite. Quick to prepare and fridge-chilled, they deliver sweet, chewy, melt-in-your-mouth bliss in bars that everyone will adore. Perfect for picnics, lunchboxes, or a late-night snack, this easy no-bake dessert brings nostalgia and a fun chocolate twist. Let’s dive in and whip up a batch of these crowd-pleasers!
Before you get started, gather these simple pantry staples to create the perfect balance of crunch, chew, and chocolate indulgence:
Let’s bring everything together in a few easy steps. You’ll start by preparing the pan and cooking the sugar syrup, then fold in the peanut butter and cereal before pressing it all into the pan. Finally, you’ll melt chocolate, create a beautiful swirl, and chill until set. Each step builds on the next to ensure perfectly chewy bars with a stunning chocolate finish.
1. Grease a 9x13-inch baking pan with butter or non-stick cooking spray to ensure the treats release cleanly.
2. In a large saucepan, combine the granulated sugar and light corn syrup. Cook over medium heat, stirring constantly until it comes to a full boil. Once boiling, stop stirring and let it bubble for 1 minute.
3. Remove the pan from the heat and carefully stir in the creamy peanut butter and vanilla extract until the mixture is completely smooth.
4. Add the Rice Krispies cereal and fold gently with a spatula until every flake is evenly coated in the peanut butter syrup.
5. Transfer the mixture to the prepared pan and press down firmly with a spatula or a piece of wax/parchment paper so it’s compact and even.
6. In a small microwave-safe bowl, combine semi-sweet chocolate chips and unsalted butter. Microwave in 30-second intervals, stirring between each, until fully melted and smooth.
7. Drizzle the melted chocolate over the pressed cereal base. Use a knife or toothpick to drag through the chocolate, creating a swirl effect.
8. Refrigerate the pan for about 30 minutes to allow the treats to set and the chocolate to harden.
9. Once firm, remove from the fridge and cut into squares or rectangles of your preferred size.
These bars are versatile and fun to serve for any occasion. Here are a few ideas to elevate your presentation and enjoyment:
Achieving that perfect texture and swirl is easier than you think! A few friendly tips will keep your treats chewy, your chocolate glossy, and your bars picture-perfect:
Proper storage keeps these bars fresh and delicious, ensuring you can enjoy them all week long or share with friends later. Follow these guidelines to preserve flavor and texture:
Ready to clear up any last-minute questions? We’ve got you covered:
You’ll need about 10 minutes for prep (measuring ingredients, greasing the pan), 5 minutes to cook the sugar–corn syrup mixture and combine with peanut butter and cereal, a few minutes to press and swirl the chocolate, and 30 minutes in the refrigerator to set. In total, plan for roughly 45 minutes from start to finish.
Yes—you can substitute crunchy peanut butter for a boost of extra texture. The treats will be slightly thicker and chewier because of the peanut pieces. No additional adjustments are needed; just stir until the peanut butter is fully incorporated before folding in the cereal.
You can swap light corn syrup with an equal amount of honey or agave nectar. Keep in mind honey will lend a distinct floral sweetness and a slightly softer, more fragile set. If using honey, reduce heat slightly to prevent over-browning and stir just until everything is smooth.
After pressing the peanut butter–cereal base firmly into the pan, pour the melted chocolate in thin streams over the surface. Use a paring knife or toothpick to drag through the chocolate in gentle, sweeping motions—avoid vigorous stirring. Work quickly while the chocolate is still fluid, then refrigerate immediately to set the swirl.
Store cooled treats in an airtight container at room temperature for up to one week. If your kitchen is warm or humid, you can refrigerate them for up to two weeks—just allow them to come to room temperature for 10–15 minutes before serving to restore chewiness.
Absolutely—stir mini-marshmallows or chopped peanuts into the peanut butter mixture right after you fold in the Rice Krispies. Gently combine to avoid crushing the cereal, then proceed to press the mixture into the pan. The marshmallows will add pockets of gooey sweetness and peanuts will boost crunch.
Let the treats sit at room temperature for 5–10 minutes after removing from the fridge so the chocolate swirl softens slightly. Use a sharp knife warmed under hot water and wiped dry before slicing. Clean the blade between cuts to maintain smooth edges and prevent chocolate buildup.
These Peanut Butter Rice Krispie Treats with Chocolate Swirl hit all the right notes: the nostalgic snap of cereal, the comforting warmth of peanut butter, and the playful artistry of melted chocolate ribbons. They work like a charm for busy bakers because there’s no oven required—just stovetop magic and a chilled finale. Plus, you can easily swap ins and outs to suit your cravings. Go ahead, print this recipe, stash it in your binder, and let me know how your first swirl turned out—or share any quirky mix-ins you tried!
These bars pack a satisfying crunch from Rice Krispies and a nutty richness from peanut butter, finished with silky chocolate swirls. Quick to prepare and fridge-chilled, they offer sweet, chewy, melt-in-your-mouth bliss.

Ciao, beautiful souls! I'm Isabella Romano, and welcome to my kitchen where comfort meets creativity, and every recipe is designed to make your everyday cooking feel a little more special.