
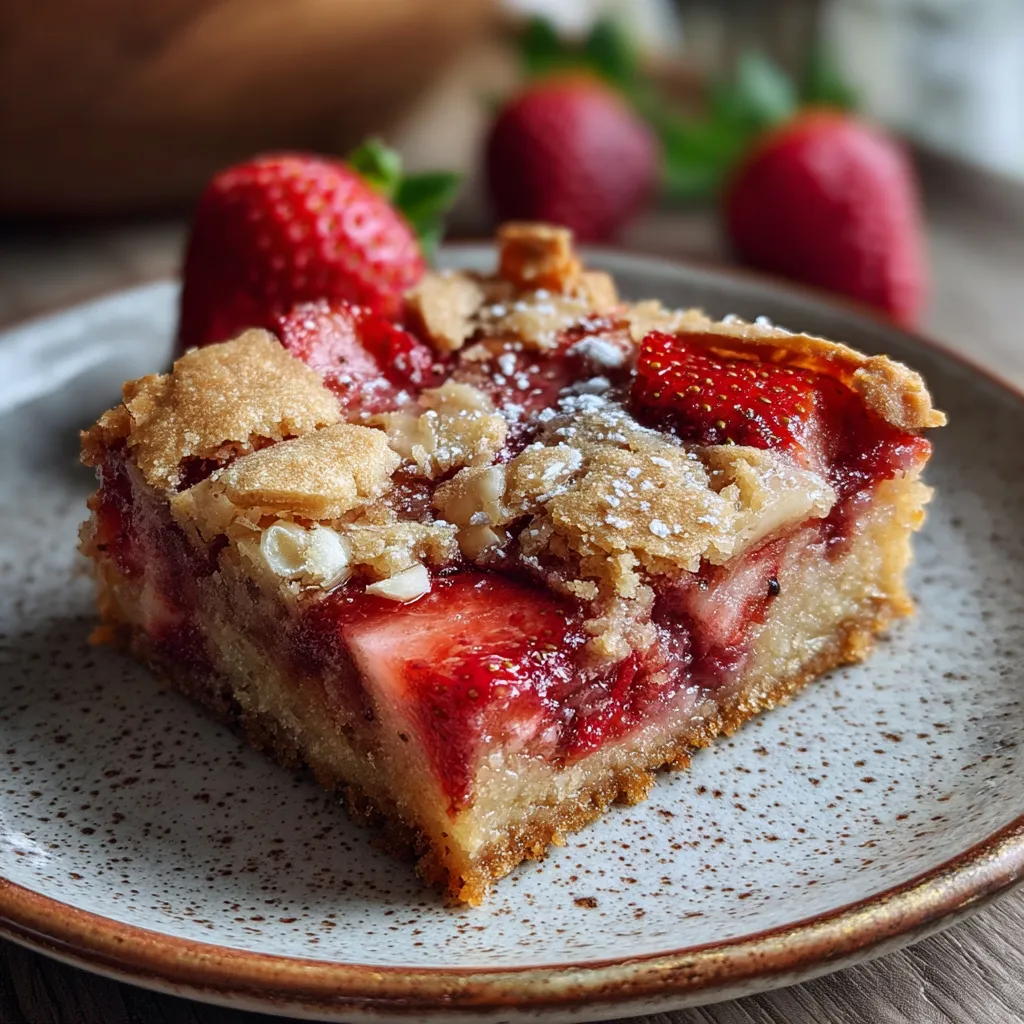
Treat yourself to Gluten Free Almond Flour Strawberry Bars, where a crumbly almond-honey crust embraces sweet-tart strawberry pockets baked until golden. This beginner-friendly dessert surprises with each layer of nutty richness and bright berry flavor, then chills to set for perfect slicing. Whether you’re gluten-free by necessity or choice, these bars are a delightful invitation to bake, savor, and share a naturally sweet treat that’s as simple as it is scrumptious.
Gather the simple staples that create a tender, gluten-free crust and vibrant strawberry filling:
Bringing these bars to life is all about simple steps: you’ll prep a buttery almond flour crust, whip up a luscious strawberry filling, and bake until golden. The key is to mix just enough to bind, layer thoughtfully for even baking, and finish with a chill so every square holds its shape. Ready to dive in? Follow these nine easy steps to bake the perfect gluten-free bars.
1. Preheat your oven to 350°F and line an 8×8-inch baking pan with parchment paper, leaving an overhang for easy removal.
2. In a medium bowl, combine the almond flour, coconut sugar, and salt, whisking until the dry ingredients are evenly distributed.
3. Add the melted butter, vanilla extract, and egg to the dry mix, stirring with a spatula until a crumbly dough forms.
4. Press half of the dough firmly into the bottom of the prepared pan, creating an even and compact crust.
5. In a separate bowl, toss the diced strawberries with the arrowroot starch, honey, and lemon juice until each piece is well coated.
6. Spread the strawberry mixture evenly over the crust, ensuring full coverage without gaps.
7. Crumble the remaining dough over the strawberry layer to form a rustic, streusel-like topping.
8. Bake for 25 to 30 minutes, or until the top turns a light golden brown and you see jammy bubbles around the edges.
9. Allow the bars to cool completely in the pan, then refrigerate for at least 2 hours to set before slicing into neat squares.
These bars are delicious on their own, but a few finishing touches can turn them into an extra-special treat. Chill them thoroughly for clean slices, then play with textures and temperatures to wow your guests. Whether you’re serving up breakfast slices or a dessert showstopper, these ideas will amplify the flavor and presentation.
A few insider tips will take these bars from great to unforgettable. From sweetness tweaks to moisture control, these pointers ensure your crust stays tender and your filling bursts with flavor. Keep it simple, embrace substitutions, and you’ll be slicing perfect bars every time.
Proper storage keeps these bars fresh, flavorful, and ready to enjoy whenever a sweet craving strikes. Whether you’re planning ahead for a gathering or saving leftovers, follow these methods to maintain that perfect crumb and juicy filling.
Here are answers to common questions about these delicious bars:
A: Preparing the dough and strawberry filling takes about 15 minutes, baking requires 25 to 30 minutes, and you should refrigerate the bars for at least 2 hours before slicing. Plan for a total of around 3 hours from start to finish, most of which is chilling time.
A: Pat the strawberries thoroughly dry before dicing, then toss them with arrowroot starch, which absorbs excess moisture. The starch thickens the juices during baking, helping the filling set without releasing too much liquid.
A: Yes. If you don’t have arrowroot, you can use an equal amount of tapioca starch or cornstarch. Keep in mind cornstarch can give a slightly different sheen, but the texture and thickening power remain similar.
A: You can drizzle additional honey over the cooled bars for extra sweetness. For an added citrus zing, increase the lemon juice to 1½ teaspoons or add a teaspoon of finely grated lemon zest to the strawberry mixture before baking.
A: Store the cooled and chilled bars in an airtight container in the refrigerator. They will stay fresh for up to 5 days. If you prefer them at room temperature, remove the bars from the fridge about 15 minutes before serving.
A: Yes, you can use frozen strawberries. Thaw them fully, drain any excess liquid, and pat dry before tossing them with the arrowroot starch, honey, and lemon juice to prevent the filling from becoming too watery.
A: Chilling for at least 2 hours firms up the almond flour crust and allows the strawberry filling to set. This prevents the bars from crumbling or oozing when you slice them, ensuring clean, neat portions.
These Gluten Free Almond Flour Strawberry Bars strike the perfect balance between a buttery, nutty crust and a bright, jammy strawberry filling—no gluten required! The simplicity of almond flour and honey lets the fresh berries shine, while a brief chill ensures flawless slices every time. Grab your parchment-lined pan and give these bars a whirl—you’ll want to print this recipe and tuck it into your favorites for easy access. If you try them or have any questions (or fun toppings you invent!), drop a comment below—I’m all ears!
A crumbly almond-honey crust embraces sweet-tart strawberry pockets, baked until golden. Chill to set, then experience tender, gluten-free bars bursting with bright berry flavor and a subtle nutty richness in every mouthwatering square.

Ciao, beautiful souls! I'm Isabella Romano, and welcome to my kitchen where comfort meets creativity, and every recipe is designed to make your everyday cooking feel a little more special.