
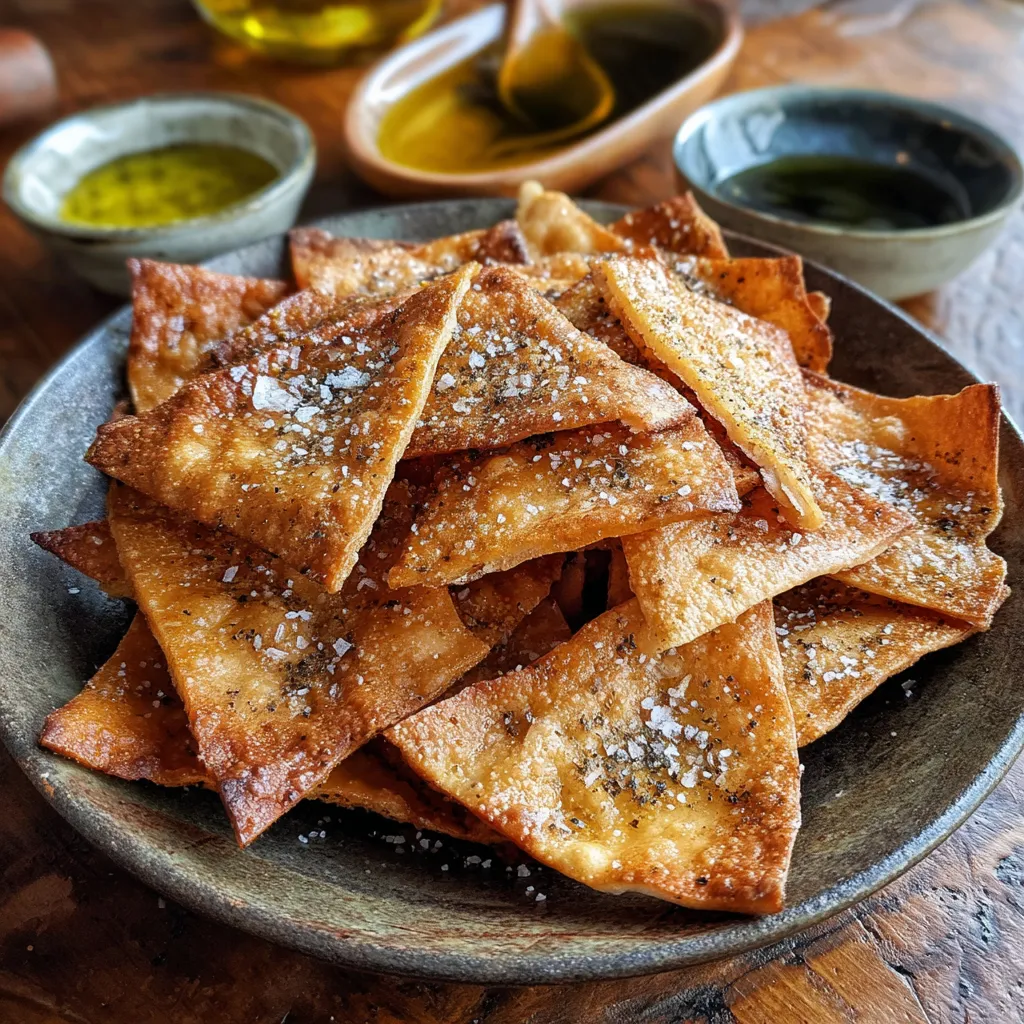
Crispy Sourdough Pita Chips offer a delightful way to transform leftover sourdough pita into golden, crackling triangles dusted with garlic and smoky paprika. These thin wedges bake to a perfect crunch, releasing hints of garlic and paprika in every bite—ideal for dipping into hummus, tzatziki, or enjoying straight from the bowl. Easy enough for beginners yet full of flavor, they’re sure to become your go-to homemade snack for lunch, parties, or cozy movie nights.
Gather these simple staples to turn everyday pita into your favorite crunchy treat:
In just a few simple steps, you’ll transform humble pita into irresistible chips. From preheating the oven to cooling the finished crisps, each move is designed to ensure even baking and maximum crunch. Keep your eye on the timer, use parchment to prevent sticking, and handle the wedges gently to maintain their shape and seasoning coverage.
1. Preheat your oven to 375°F (190°C) and line a baking sheet with parchment paper to ensure the chips don’t stick and bake evenly.
2. Carefully separate each pita sheet into two thin layers so the wedges crisp uniformly, then cut each layer into eight equal wedges using a sharp knife.
3. In a large bowl, toss the pita wedges with olive oil, sea salt, garlic powder, and smoked paprika until every piece is lightly coated and ready for the oven.
4. Arrange the seasoned wedges in a single layer on the prepared sheet, making sure no pieces overlap for consistent airflow and browning.
5. Bake for 10 to 12 minutes, rotating the baking sheet halfway through to promote even golden edges and crispy texture.
6. Remove the chips from the oven and cool on the baking sheet for 5 minutes, letting them firm up before serving.
These crunchy pita chips pair beautifully with dips, toppings, and spreads, making them a versatile snack for any occasion. Whether you’re hosting friends or craving a solo treat, here are a few ways to serve them:
Making chip-perfect pita wedges is all about attention to detail—think moisture levels, even seasoning, and precise baking times. Start with slightly stale pita to reduce moisture and boost crispiness, and always toss the wedges gently but thoroughly so every bite is flavorful. Keep a close eye on the oven, especially near the end of baking, to catch the chips at their golden peak. Want more customization? Play with herbs and spices, or swap smoked paprika for chili flakes to amp up the heat. With these simple tweaks, you’ll nail that irresistible crunch every time.
Proper storage keeps your homemade pita chips crunchy and delicious for days. After they’ve cooled completely, transfer them to a container that seals out air and moisture. Avoid stacking while still warm to prevent steam buildup, and keep them in a dry spot away from direct sunlight. Here are some methods to maintain that perfect snap:
Here are quick answers to your top pita chip queries!
Total time is about 25 to 30 minutes. This includes 5 minutes to preheat the oven to 375°F (190°C), 5 minutes to separate and cut the pita sheets into wedges, and 10 to 12 minutes of baking until the chips are golden brown and crispy, plus a brief 5-minute cooling period on the baking sheet.
Separating each pita sheet into its two layers creates thinner wedges that crisp up more evenly. It also allows the olive oil and seasonings to coat both sides thoroughly, resulting in a more uniform crunch and better flavor absorption.
Yes, you can use fresh pita, but slightly stale pita tends to produce a crispier chip because it has lower moisture content. If your pita is very fresh, you can dry it out by leaving the wedges on the countertop for 30 minutes before tossing them with oil and seasonings.
Place the pita wedges in a large bowl, drizzle the olive oil evenly over them, then sprinkle the sea salt, garlic powder, and smoked paprika on top. Use clean hands or tongs to gently toss and turn the wedges until every piece is lightly coated. Working in a single layer when baking also helps maintain even seasoning.
Keep an eye on the chips during the last few minutes of baking and rotate the baking sheet halfway through to promote even browning. Remove the tray as soon as the wedges turn golden brown around the edges, since they can go from perfectly crisp to overdone quickly.
Allow the chips to cool completely on the baking sheet, then transfer them to an airtight container or resealable bag. Stored at room temperature, they will stay crisp for up to 3 days. Avoid sealing them while still warm to prevent steam buildup and sogginess.
Absolutely. In place of or in addition to the garlic powder and smoked paprika, you can sprinkle on dried herbs like rosemary or za’atar, add a pinch of chili flakes for heat, or even grate some Parmesan cheese over the chips before baking for a savory twist. Adjust the quantities to taste.
Crispy Sourdough Pita Chips stand out because they take humble leftover pita and turn it into an addictive snack with minimal effort—perfect for beginners looking to level up their homemade munchies. The tangy sourdough paired with smoky paprika and a whisper of garlic creates a flavor combo that’s simply irresistible. Whether you’re dipping into hummus or crunching them solo, they deliver that perfect snap every time. Print this recipe, save it for busy days, and don’t forget to leave a comment or question below—I can’t wait to hear about your chip adventures!
Thin wedges of sourdough pita bake to a perfect crunch, releasing a smoky paprika aroma and a whisper of garlic. Warm, golden triangles make a simple, irresistible snack or dipper.

Ciao, beautiful souls! I'm Isabella Romano, and welcome to my kitchen where comfort meets creativity, and every recipe is designed to make your everyday cooking feel a little more special.